
Build A Resume In WordPress With Vivita Pro Theme
September 19, 2017
Vivita Pro theme by Smartcat allows you to turn your WordPress website into an online resume and portfolio – an amazing asset for job-hunters, freelancers and self-employed professionals.
How To Build A Resume In WordPress with Vivita Pro Theme
Vivita Theme includes Smartcat Modules that you can use to publish significant content for an online portfolio such as Projects, Gallery Items and more. You can learn more about using Smartcat Modules here.
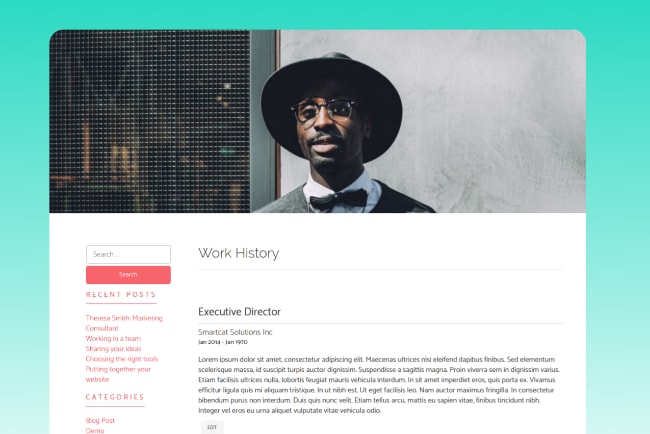
Displaying your Work History
What sets this theme apart in terms of resume-building capabilities is the custom Module called “Work History.” Setting the Page Template to Work History will automatically format it into a resume-style list of your history of positions, including a Job Title, description, company name and time period.
To create this page, follow the steps below.
- Go to Modules > Work History > New Position
- Fill in the required details for the Position (Job title, brief description, company and start and end date.
- Repeat steps 1 and 2 until you’ve entered all the positions you want to include in your Work History.
- Go to Pages > Add New in your WordPress dashboard
- Give the new page an appropriate title for your Work History such us “Professional History,” “Employment History,” “Where I’ve Worked,” etc.
- Set the Page Template to Work History, under “Templates” in the right sidebar, below the publishing options.
- Add a Featured Image. This will appear as a banner image across the top of the page.
- Save and Preview, or Publish your Page to view your completed Work History.